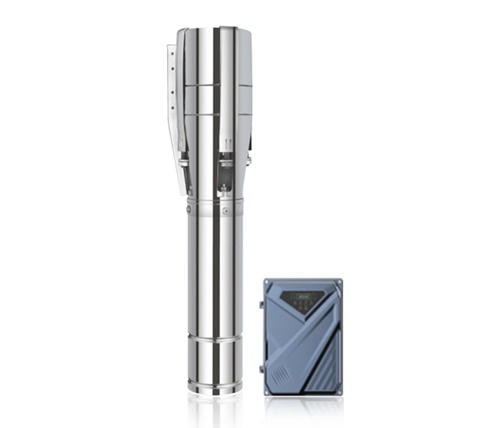
1. Check whether the cable sheath is damaged in the deep well submersible pump. Whether the water pump is broken.
2. The inspection steps before the whole set goes down:
a) Disassemble the filter screen and use a lever to move the coupling to be flexible.
b) Put the electric pump upright and fill it with clean water, connect the cable connector, soak the connector in a water basin, and measure the resistance of the connector to ground (the insulation resistance of the single-finger connector to water) not less than 500 megohms.
c) Place the water pump upright and use a suitable container to add washing powder water to the outlet of the pump. At the same time, slightly move the motor start button to observe the direction of the pump carefully. The time should not exceed 2 seconds, and mark the continuity.

3. Steps for on-site assembly of the pump during split transportation:
a) Place the motor vertically before installation, open the vent hole and the water injection hole, be sure to open both water plugs, fill up the water to tighten the water injection block and the water discharge block, observe whether there is water leakage in the motor, if there is water leakage Do not go down the well. The reason may be bumps during transportation. Please contact the agent or the manufacturer in time to resolve the problem until there is no leakage (observe for 10-15 minutes). Then, measure the insulation resistance of the motor, and its value is not less than 50 megohms.
b) Wrap the cable connector, and test the rotation of the motor after wrapping. Whether the rotation of the motor is consistent with the direction of the arrow marked on the water pump, and mark the continuity.
4. Water pump inspection
a) Turn the impeller by hand to see if it is flexible.
b) Pull the impeller along the direction of the pump axis to observe the total channeling of the impeller.
c) Install the coupling and the motor together so that the motor shaft head is tightly aligned with the water pump shaft head and no gap is allowed.
d) Look at the clearance of the impeller's vertical displacement, which should be in the middle of the total displacement (allowable deviation ±0.5 mm). When the deviation is greater than 0.5 mm, adjust the shim to the middle position and turn the impeller by hand to be flexible. Then drill the top wire hole of the coupling, tighten the top wire to install the upper shell.
e) Use the pry bar to move the coupling once again, and it should be flexible to make the assembly pass. Then install the filter and the wire protection box.
5. Binding of cables: The cables should be tied to the lifting pipe with insulating ties instead of metal wires.
6. When going down the well, check whether the power cable is damaged, whether the selection of its specifications is reasonable, and the cable is immersed in the water for 6 hours, and the insulation resistance to ground should not be less than 500 megohms with a 500V insulation resistance meter. (Insulation resistance of single finger joint to water) Butt connection of lead cable and power cable
7. To connect the cable, strip off the outer sheath and main insulation layer of the cable to expose 35-40mm of the copper wire, trim the rubber near the core into a cone, polish the oxide layer on the core, and use alcohol (preferably Use hydrochloric acid) to clean the core, the insulating layer and the sheath layer to be wrapped and let them dry naturally.
8. For the joint, use bare copper wire to tie the cable core evenly, and use an electric soldering iron to heat and infiltrate the tin. Infiltration and evenness are required. Use a file to repair the flat welded part (no burrs and sharp shuttles are allowed), and wipe the part to be bandaged again with alcohol and dry it.
9. First, use self-adhesive butyl tape to wrap three layers in half and gradually extend to the outside of the core. When wrapping, the tape must be stretched by 200%, and the outer layer is half-wrapped with polyvinyl chloride tape for three layers, and gradually extended outwards to ensure that the wrapping part is not shorter than 200mm.
10. When connecting a three-core cable, the positions of the three connectors should be staggered by a certain distance to prevent short circuits.

 English


